1st Fermentation complete
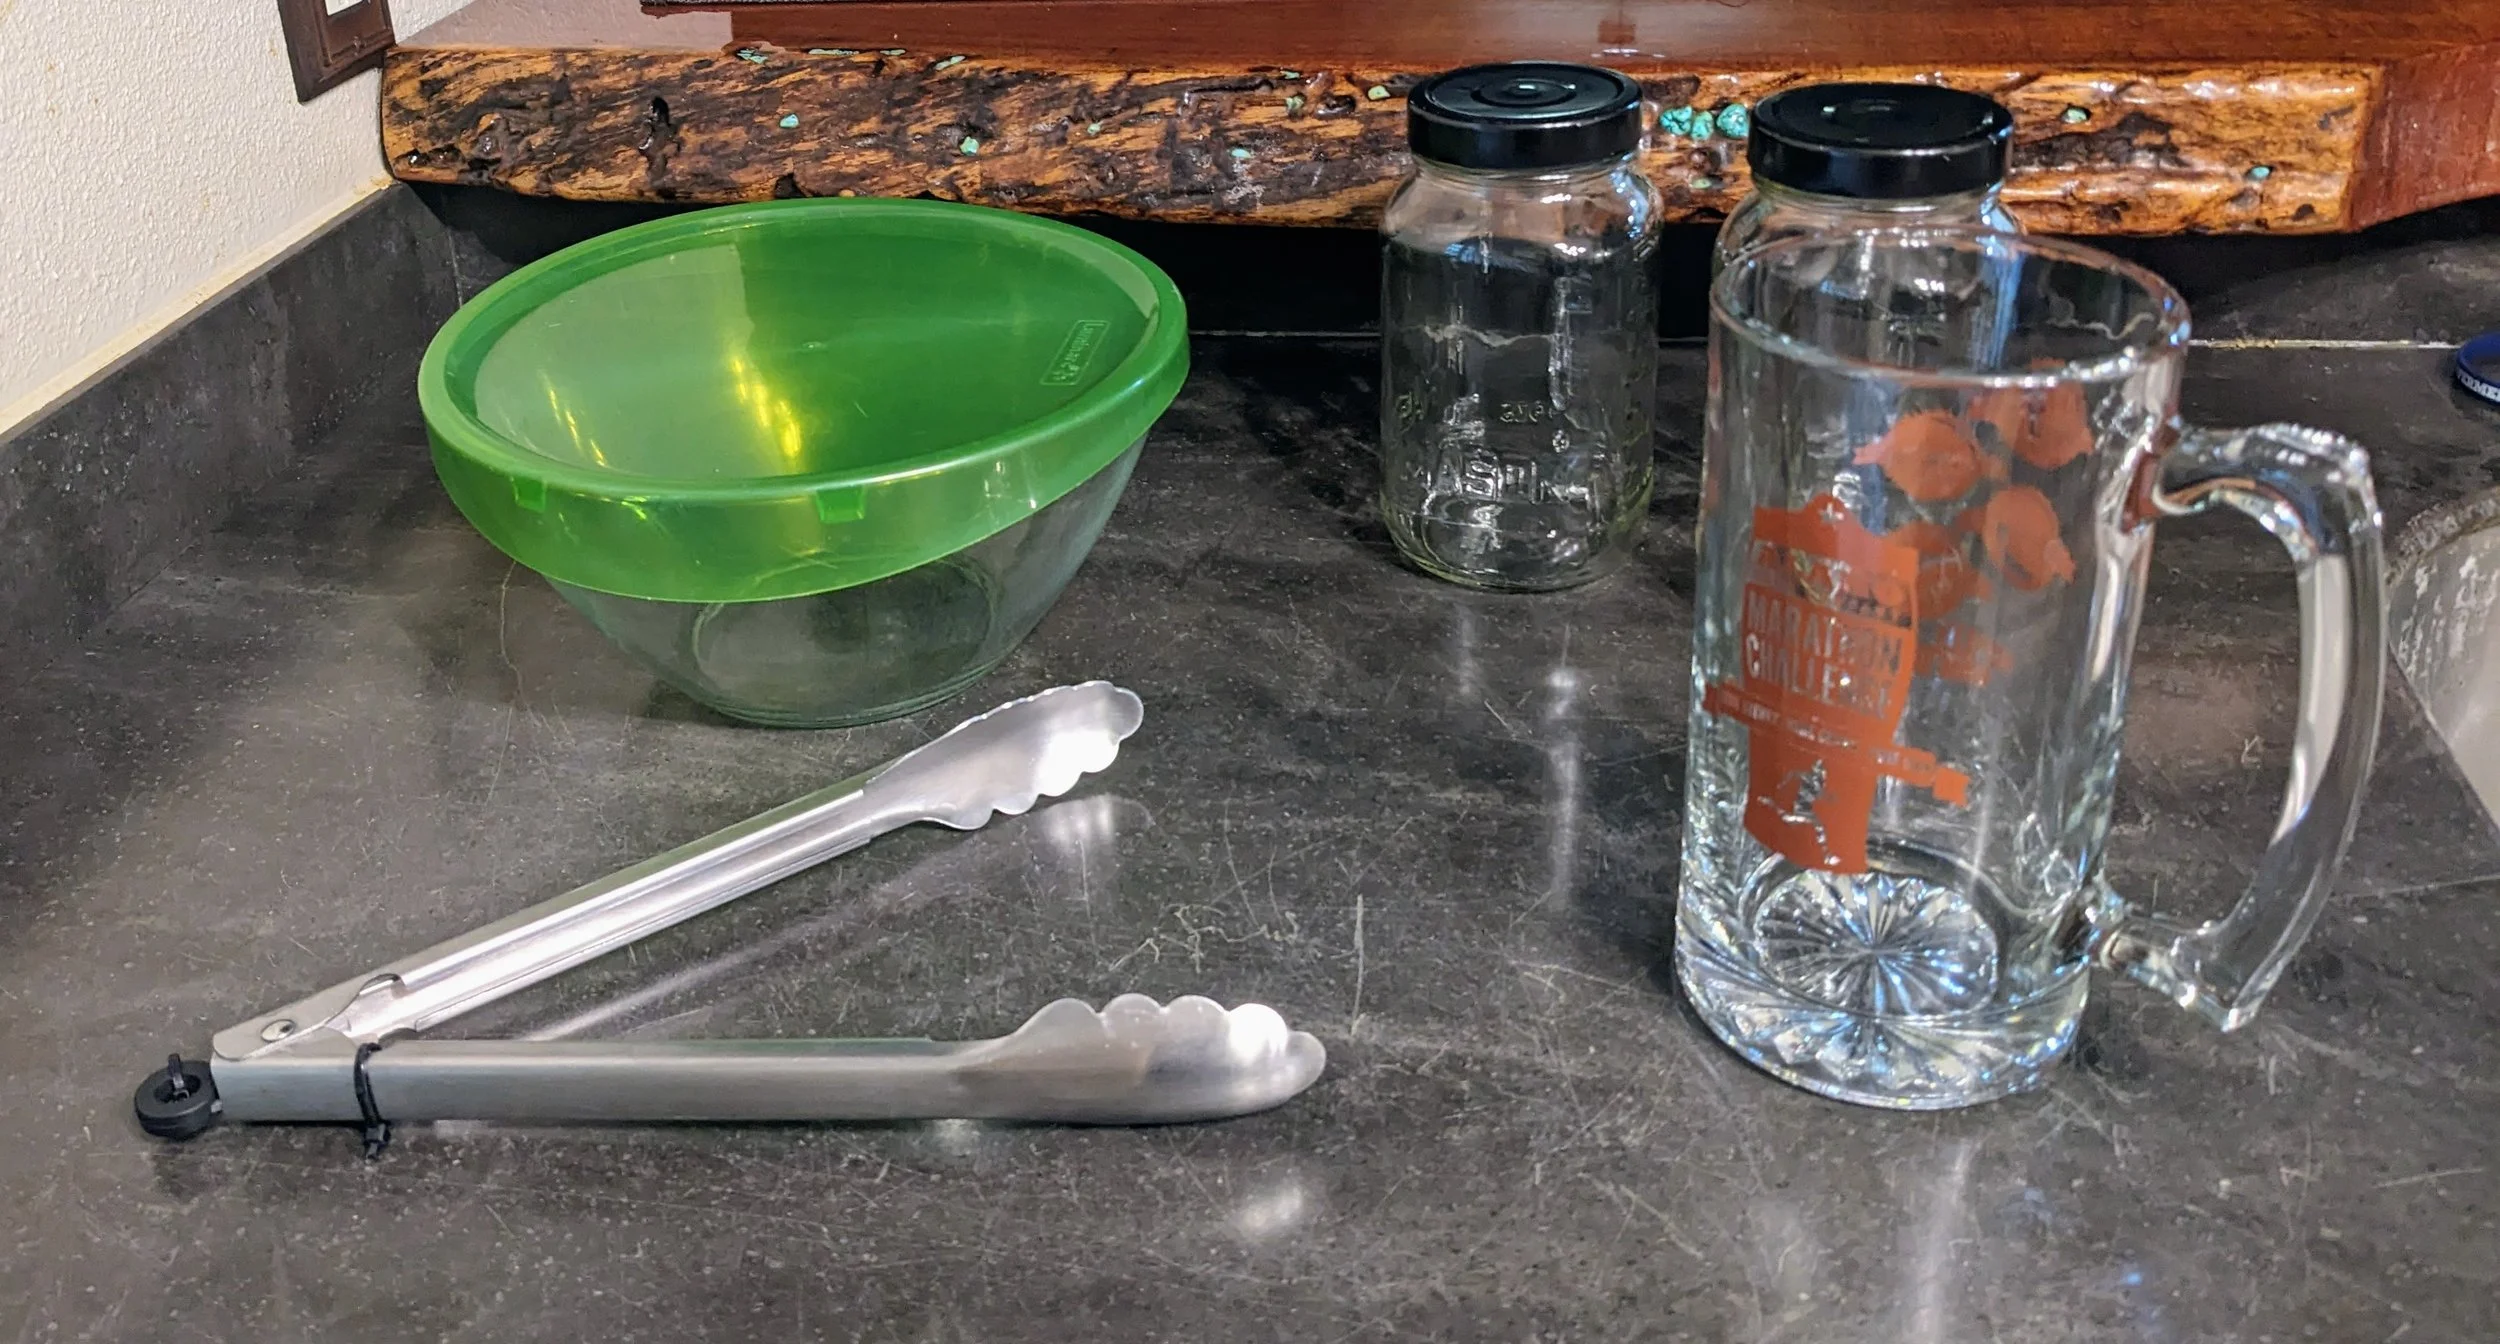
Equipment
Funnel
Tongs
Clean bottles (8-20 oz.)
Large container (to house the pellicle until next brew)
a mug or cup for drinking you freshly brewed kombucha


Get ready to drink up!
Once you have tasted your brew and it is to your liking (after a minimum of seven days), it is time to remove the pellicle and place into a container of your choosing ( preferably with a lid and large enough to hold the pellicle and 12-20 ounces of brew) . Remove the pellicle using tongs to maintain aseptic technique. Determine the pH, although not necessary, only if you’d like to know so you can potentially recreate the flavor on your next brew. Place the pellicle into a clean container and cover. Set aside in a quiet area of the kitchen. Using a funnel, pour the brew into each bottle, cap, and place in the fridge. Allow the brew to cool for at least four hours. The cooling allows flavors to be a little more pronounced than when drinking ambient temperature brew right after F1 completion. Give it a try and see if you notice a difference.
Note
I only do one fermentation for my brews so I will not provide guidance on second fermentation. I will likely dive into second fermentation brews in the near future though. Conversely, one of my upcoming articles will be the “The Art of the Single Fermentation”. My goal is to create distinct and unique flavors with only one fermentation.
I look forward to discussing my next adventure with you. Until next time.